Applying GYEON ceramic coating in your home garage takes about four to six hours from prep to final application, and you can achieve professional-grade results with careful attention to surface preparation and methodical layering. This advanced paint protection creates a durable, hydrophobic barrier that shields your car’s finish from UV rays, contaminants, and minor scratches while dramatically reducing the water and chemicals you’ll need for future washes. The real advantage here isn’t just the glossy showroom shine, it’s the long-term sustainability of maintaining a protected surface that repels dirt and requires far less aggressive cleaning over the coating’s three to five-year lifespan.
Most DIY enthusiasts assume ceramic coating is exclusively for detailing professionals, but GYEON’s consumer-grade formulations are designed specifically for careful home application. The key difference between a disappointing, streaky result and a flawless finish comes down to three non-negotiable factors: meticulous paint decontamination, controlled application in thin layers, and maintaining stable temperature and humidity during curing. Skip any of these steps, and you’re likely to see high spots, hazing, or premature coating failure.
For anyone committed to green car care on a budget, this process offers genuine environmental benefits beyond the marketing hype. Ceramic paint protection for cars reduces water consumption by up to 70% per wash over time, eliminates the need for repeated wax applications with their petroleum-based solvents, and extends your paint’s lifespan so you can delay the resource-intensive process of repainting or replacing panels. This guide walks you through every stage, from gathering the right tools to verifying proper curing, so you can protect your vehicle investment while lightening your environmental footprint.
Why GYEON Ceramic Coating Is a Sustainable Choice for Car Care
Choosing GYEON ceramic coating for your vehicle goes beyond simple paint protection, it represents a meaningful shift toward more sustainable car care practices. Traditional waxes and sealants typically last 3-6 months, requiring repeated applications throughout the year. Each application cycle means purchasing new products, using additional water for prep and removal, and generating more packaging waste. GYEON’s ceramic coatings, by contrast, provide 3-5 years of durable protection from a single application, dramatically reducing this consumption cycle.
The water savings become particularly significant during regular maintenance. GYEON-coated surfaces shed dirt, dust, and grime far more easily than unprotected paint. Most contaminants rinse away with minimal agitation, meaning you’ll use substantially less water per wash. The hydrophobic coating also causes water to bead and sheet off the surface, reducing drying time and the need for repeated rinsing. Over the coating’s lifespan, this translates to thousands of gallons conserved compared to maintaining uncoated paint that requires aggressive scrubbing and multiple rinse cycles.
Beyond water conservation, ceramic coatings extend your paint’s functional life. UV degradation, oxidation, and chemical etching from environmental fallout permanently damage unprotected clear coat, eventually necessitating costly repainting. That process involves stripping existing paint, applying primers, base coats, and clear coats, all of which release volatile organic compounds into the atmosphere. GYEON’s formulations create a sacrificial barrier that absorbs this environmental punishment, preserving the original factory paint underneath. Fewer vehicles requiring premature paint correction means fewer VOC emissions industry-wide.
GYEON has built its reputation on producing high-quality, concentrated formulations that deliver professional results. Their products use advanced silica-based chemistry that bonds at the molecular level with your paint, creating genuinely durable protection rather than temporary surface coatings.
Tools and Materials You’ll Need
Gathering the right supplies before you start prevents interruptions and ensures a professional finish. You’ll need several categories of materials, and choosing quality items upfront saves time and protects your investment in the coating itself.
Core Application Supplies:
- GYEON ceramic coating (GYEON Mohs or GYEON Q² Pure are excellent home-application options designed for durability and user-friendly application)
- Microfiber applicator pads or suede cloths (2-3 pieces for coating application)
- Premium microfiber buffing towels (6-8 towels minimum; you’ll rotate through these quickly)
- IPA solution at 10-15% dilution or GYEON Prep (removes all residues for perfect adhesion)
- Clay bar kit with lubricant spray (eliminates embedded contaminants)
- pH-neutral car wash soap and wash mitt
- LED work light or portable shop light (reveals coating coverage and helps spot high spots)
- Nitrile gloves (multiple pairs; coating chemicals require skin protection)
Each item plays a specific role. The coating itself is your protective barrier, but the applicators control how evenly you spread it. Microfiber towels must be high-quality and clean because any debris transfers directly onto your fresh coating. The IPA solution or GYEON Prep strips away invisible oils that would prevent bonding, while the clay bar handles physical contaminants your wash missed.
Optional But Helpful Items:
Consider adding a paint thickness gauge if you’re unsure about your clear coat depth before polishing. Masking tape protects rubber trim and plastic from accidental coating contact. A spray bottle makes diluting IPA easier, and a dedicated storage bin keeps everything organized between sessions.
When purchasing, look for microfiber towels from brands that skip fabric softeners in manufacturing, as these chemicals reduce absorbency. Buy locally when possible to reduce shipping emissions, or consolidate orders. Many eco-conscious detailing suppliers now offer carbon-neutral shipping and minimal packaging options. Quality materials last through multiple coating applications, making them a more sustainable choice than buying cheap disposables that need frequent replacement.
Safety Precautions and Workspace Setup
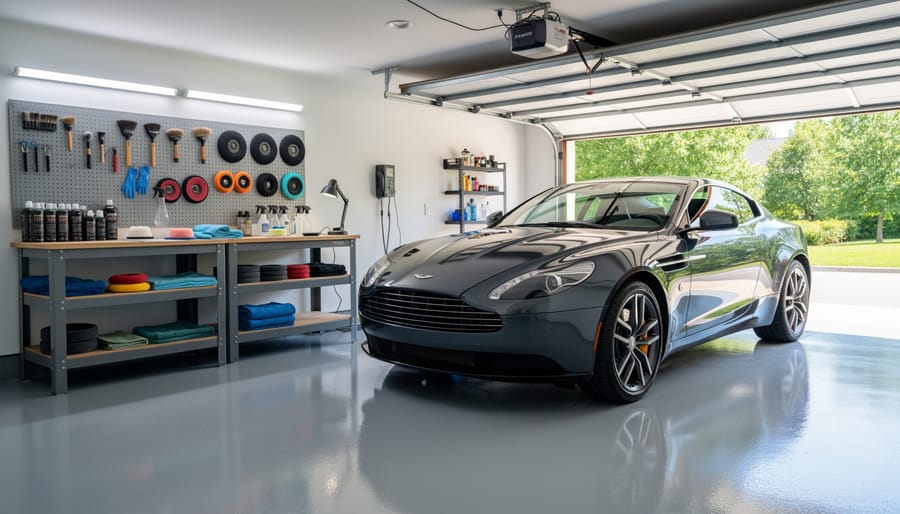
Creating a safe workspace protects both you and the environment. Open your garage doors and windows, or run a fan to establish cross-ventilation, ceramic coating fumes aren’t pleasant, and proper airflow prevents buildup of volatile organic compounds. Wear nitrile gloves throughout the entire process; these coatings bond aggressively to whatever they touch, including skin. Safety glasses shield your eyes from accidental splashes during application and buffing.
Check your garage temperature with a basic thermometer before starting. If conditions aren’t right, wait for a better day rather than rushing the job. Use a dehumidifier if you live in a humid climate, aiming to keep moisture levels comfortable and dry.
Set up LED work lights to illuminate every panel clearly, you need to spot application errors immediately, not discover them after curing. Position lights at angles that reveal the coating’s sheen as you buff. Sweep and wipe down your garage floor to minimize dust; even settled particles can land on wet coating and ruin the finish.
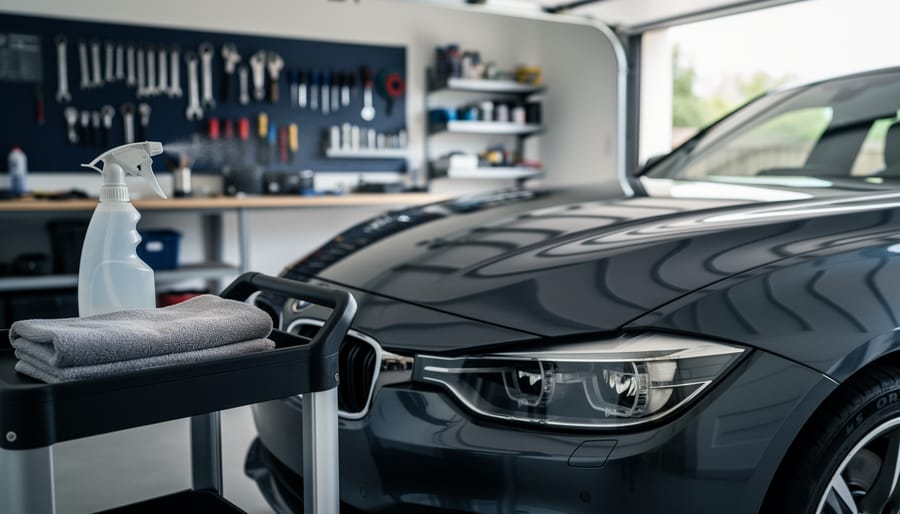
Organize all materials within arm’s reach on a clean table or cart. You’ll work panel by panel with specific timing windows, so fumbling for supplies wastes precious seconds. Keep multiple clean microfiber towels ready and designate separate ones for application versus buffing.
For used applicators and coating-saturated towels, seal them in a plastic bag before disposal, following the manufacturer’s hazardous waste guidelines and applying proper disposal tips for chemical products. Recycle packaging from your coating supplies where possible. Consider turning off unnecessary garage appliances to save energy in the garage while you work, keeping only essential lighting and ventilation running.
Step-by-Step Application Process
Step 1: Wash and Decontaminate Your Car
Start with a complete two-bucket wash using pH-neutral soap, one bucket for soapy water, one for rinsing your mitt. This prevents you from dragging dirt back onto the paint and creating scratches that’ll show through your coating. Work from top to bottom since gravity pulls cleaner water downward, and rinse each section before moving on.
Once the car is washed and dried with clean microfiber towels, grab a clay bar and lubricant. This step removes bonded contaminants that washing can’t touch: industrial fallout, tree sap, rail dust, and overspray. Spray lubricant generously on a small section, then glide the clay bar across the surface using light pressure and straight, overlapping passes. You’ll feel the paint become glass-smooth as the clay pulls contaminants away. Fold and knead the clay frequently to expose a clean surface, and use a fresh piece when it gets too dirty.
Why does this matter for ceramic coating? Any contamination left on the paint creates a barrier between the coating and the clear coat, leading to poor adhesion and premature failure. You’re building a foundation here, shortcuts now mean the coating won’t bond properly or last as long.
To conserve water, use a spray nozzle with shut-off control rather than letting the hose run continuously, and consider collecting rinse water in buckets for garden use if your soap is plant-safe.
Step 2: Paint Correction (If Needed)
Before applying ceramic coating, examine your car’s paint under good lighting. Look for swirl marks, light scratches, oxidation, or dullness. If your paint shows these imperfections, correction will dramatically improve the final result since ceramic coating amplifies whatever’s underneath, flaws and all.
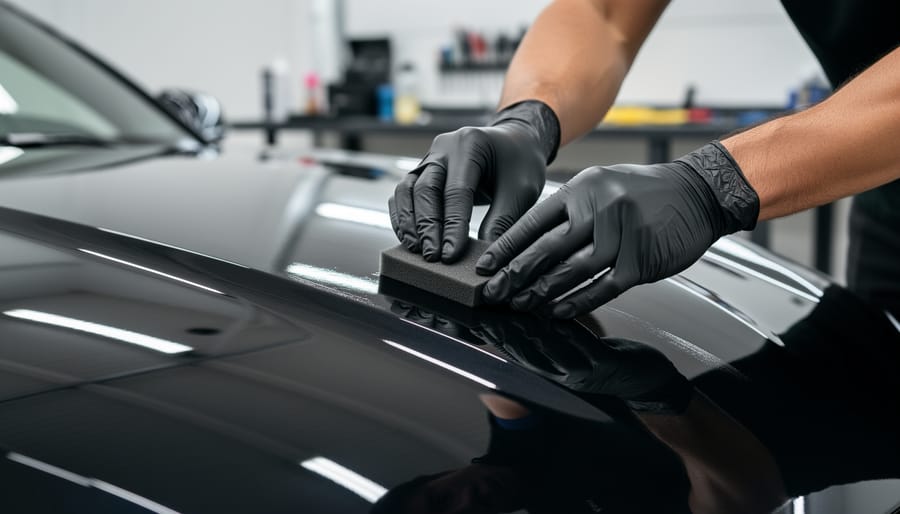
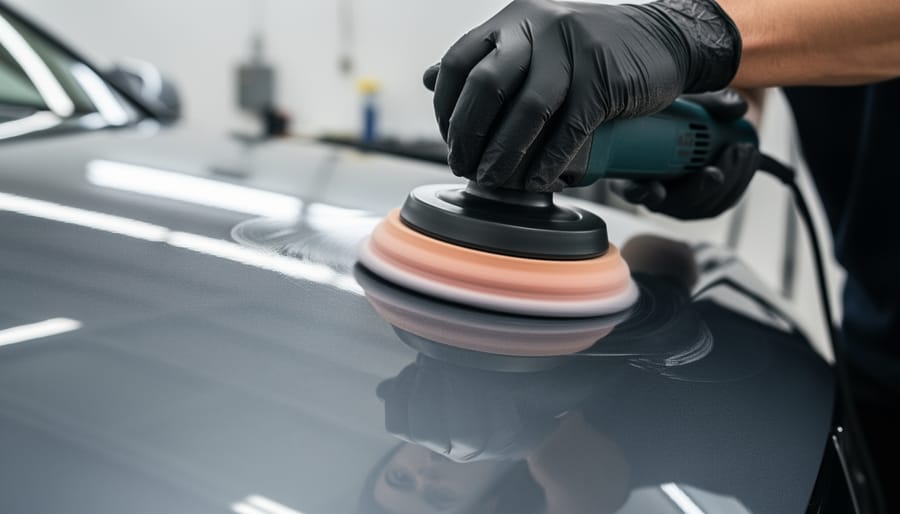
Paint correction involves using a dual-action polisher with cutting compounds to remove a microscopic layer of clear coat, leveling the surface and eliminating defects. Start with a less aggressive compound and work up only if needed. This process takes time and practice, so beginners might tackle just the most visible panels initially.
However, newer vehicles or those in good condition can skip this step entirely. The ceramic coating will still bond properly and provide excellent protection without correction. If your primary goal is safeguarding your paint rather than achieving show-car perfection, move straight to preparation. You’re not compromising the coating’s durability, just accepting your paint’s current appearance. Many eco-conscious car owners prioritize protection over aesthetics, and that’s a perfectly valid approach that saves time, energy, and the environmental cost of additional products and processes.
Step 3: Panel Preparation and Wipe-Down
With your paint now corrected (if needed) and fully decontaminated, the next critical step is removing every trace of oils, residues, and contaminants that could prevent the ceramic coating from bonding. This preparation phase makes or breaks your application.
Mix a 50/50 solution of isopropyl alcohol (IPA) and distilled water, or use GYEON Prep, which is specifically formulated for this task. Spray your chosen solution onto a clean microfiber towel, never directly onto the paint, as this wastes product and creates uneven coverage.
Work one panel at a time, wiping in straight lines rather than circles. Start with horizontal surfaces like the hood and roof, then move to vertical panels. After wiping each section, immediately follow with a dry microfiber towel to remove any remaining moisture. You’ll know the paint is properly prepared when the towel glides smoothly without any resistance or tackiness.
Check your work under LED light. The surface should look completely matte, with no glossy spots that indicate leftover wax or polish. This panel-by-panel approach prevents the solution from evaporating before you can wipe it, ensuring the coating adheres to truly bare paint. Once finished, apply the ceramic coating within an hour to avoid dust settling.
Step 4: Apply the GYEON Ceramic Coating
Now comes the moment where preparation meets execution. The actual application of GYEON ceramic coating demands focus and a methodical approach, but the technique itself is straightforward once you understand the rhythm.
Start with a single panel, the hood is often a good choice for your first attempt since it’s horizontal and easily visible under your work light. Shake the GYEON bottle gently, then apply 3-5 drops of coating onto your applicator pad. This amount covers roughly two square feet, so resist the urge to oversaturate. More product doesn’t mean better protection; it just creates waste and makes buffing harder.
Work in a crosshatch pattern: apply the coating in straight, overlapping lines horizontally across the panel, then repeat vertically. This ensures complete, even coverage without gaps. Maintain light, consistent pressure as you spread the product. You’ll notice the coating goes on almost effortlessly when the paint is properly prepped.
- Prime your applicator with 3-5 drops of coating for the first application of each new panel
- Apply product in horizontal passes across the panel with slight overlap between passes
- Immediately follow with vertical passes to create the crosshatch pattern
- Wait 30-60 seconds for the coating to flash (it will begin to look like a rainbow on the surface)
- Gently level the coating with a clean microfiber towel using straight, overlapping strokes
- Inspect the panel under your LED light for high spots or streaks, addressing them immediately
- Move to the adjacent panel and repeat the process
Timing matters significantly. GYEON coatings typically flash within 30-60 seconds depending on temperature and humidity. During this flash time, the solvents begin evaporating and you’ll see a slight rainbow effect or haziness appear on the surface. This signals it’s time to level and remove the excess.
For vertical surfaces like doors and fenders, gravity works against you slightly. Use a touch less product (2-3 drops) and work smaller sections to prevent runs. Apply from top to bottom, then crosshatch side to side. On complex curves around door handles or body lines, switch to smaller applicator blocks for better control.
The key to professional results in your garage is maintaining this panel-by-panel discipline. Never rush ahead to the next section before completing the buffing stage, and never let coating sit too long before removal, once it cures on the surface, correction becomes difficult.
Step 5: Buffing and Leveling
Within 30-60 seconds of applying the coating (check your specific GYEON product’s instructions), you need to buff the panel to remove excess product and level the coating. Grab a fresh, clean microfiber towel, one that’s plush and soft, never one you’ve used for other detailing tasks.
Use gentle, overlapping circular motions initially to lift the excess coating, then switch to straight, linear passes to achieve a uniform finish. You’re not scrubbing hard; let the towel do the work with light to moderate pressure. Proper buffing reveals a deep, glass-like shine with no visible residue.
Watch for high spots, areas where the coating appears thicker, darker, or slightly raised. These happen when too much product was applied or buffing was delayed. If you spot them immediately, use a fresh section of your towel with a bit more pressure to work them out. Streaks indicate uneven application or a contaminated towel; switch to a clean towel section and rebuff the area.
If the coating has begun to cure (becomes difficult to buff), lightly mist the panel with GYEON Prep and work the area again quickly. This is your brief window to fix mistakes, once fully cured, correction requires polishing.
Curing Time and Post-Application Care
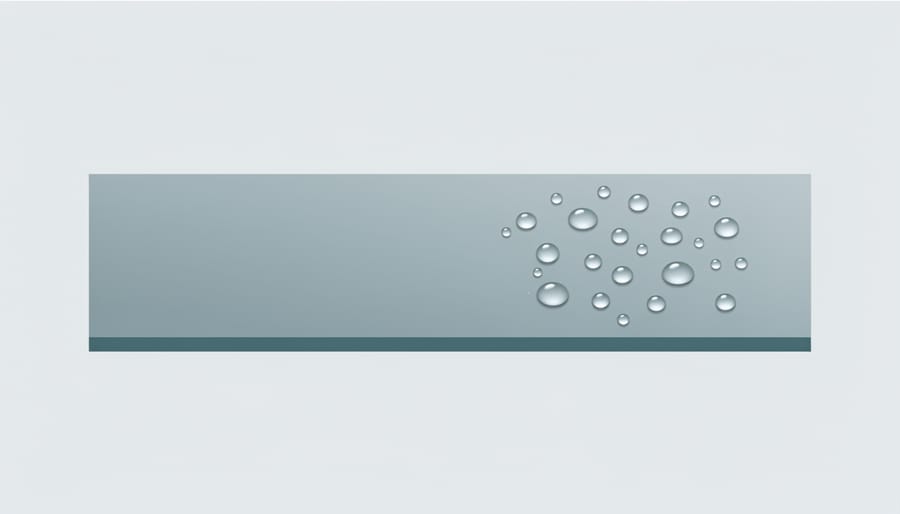
After buffing away the excess product, your coating enters its most vulnerable phase. The next 24 hours determine whether your careful application transforms into the rock-hard shield GYEON promises or ends up compromised by premature exposure.
Initial Cure: The Critical First 24 Hours
GYEON coatings typically reach an initial cure within 1-2 hours, meaning they’re dry to the touch. However, this surface cure is deceptive. The coating continues cross-linking with your paint’s surface for a full 24 hours. During this window, keep the car completely dry and sheltered in your garage. No water, no touching, no moving it outside where morning dew or sudden rain could interfere. Even humidity can slow the curing chemistry, so maintain that climate-controlled environment if possible.
Full Cure: Building Maximum Durability
True hardness develops over 7-14 days. While you can drive the car after the first day, treat it gently. Avoid car washes for at least a week, preferably two. Rain won’t ruin the coating after 24 hours, but extended water exposure during the full cure period prevents it from reaching maximum hardness. If you must wash during this time, use only a gentle rinse with plain water and light pressure.
This patience pays dividends. A fully-cured coating will protect against weather UV rays, and contaminants for years, reducing your maintenance burden and environmental footprint substantially.
Maintaining Your GYEON-Coated Paint
Your ceramic coating isn’t a set-it-and-forget-it solution, it needs proper care to deliver years of protection and those water-saving benefits you’re aiming for. The good news? Maintenance is straightforward and far simpler than traditional waxing routines.
Wash your coated car every two to four weeks, depending on how much it’s exposed to the elements. The coating’s hydrophobic properties mean dirt slides off easier, so you’ll use less water per wash compared to uncoated paint. Always use a pH-neutral car soap, harsh alkaline or acidic cleaners can degrade the coating over time, shortening its lifespan and forcing you back to square one sooner than necessary.
Skip automatic car washes entirely. Those spinning brushes and recycled chemicals can mar the coating surface and reduce its effectiveness. Stick with hand washing using the two-bucket method, or if you’re pressed for time, touchless washes are acceptable though not ideal.
Here’s your simple ongoing checklist:
- Wash with pH-neutral soap every 2-4 weeks
- Use clean microfiber towels for drying, never old rags
- Apply GYEON Wet Coat or similar booster every 3-6 months
- Inspect the coating after each wash for water beading performance
- Avoid parking under trees where sap and bird droppings sit longer
Those periodic maintenance boosters aren’t just marketing, they rejuvenate the top layer and extend the coating’s active life by another year or more. Think of them as a tune-up rather than a replacement.
Watch for diminished water beading or sections where water sheets instead of beads. If you notice these changes spreading across multiple panels after three to five years, it’s likely time to prep and reapply. Proper maintenance pushes that timeline further out, multiplying your environmental payoff through reduced product consumption and waste.
Common Mistakes and How to Avoid Them
Even experienced DIYers can run into trouble with ceramic coating application. Here are the most common pitfalls and how to sidestep them.
Working in Poor Conditions
Applying GYEON in direct sunlight or when your garage exceeds 80°F causes the coating to flash too quickly, making it nearly impossible to buff properly. You’ll end up with stubborn high spots and uneven coverage. Always work indoors with controlled temperature between 60-80°F, and if your garage gets hot, tackle this project early morning or evening.
Overloading the Applicator
More product doesn’t equal better protection. Using too much creates thick, uneven layers that are difficult to level and waste expensive coating. A few drops, about the size of a dime, covers an entire panel. You can always add more if needed, but removing excess product is frustrating work.
Delayed Buffing
GYEON coatings have specific working windows, typically 1-3 minutes depending on conditions. Wait too long and the coating becomes tacky and resistant to buffing, leaving streaks or high spots. Set a timer for each panel and buff immediately when you see the coating begin to rainbow or haze over.
Skipping Proper Decontamination
Applying coating over residual wax, polish oils, or contaminants guarantees poor bonding and shortened lifespan. That IPA wipe-down isn’t optional, it’s the difference between coating that lasts months versus years. Take the extra five minutes to prep each panel thoroughly.
Frequently Asked Questions
How long does GYEON ceramic coating really last?
When properly applied and maintained, GYEON ceramic coatings typically last between 2 to 5 years depending on the specific product line and your maintenance routine. GYEON Syncro and CanCoat offer multi-year protection, while entry-level options like Prime or WetCoat provide 1-2 years of durability.
Can I apply GYEON ceramic coating myself or should I hire a professional?
You can absolutely apply GYEON ceramic coating yourself if you follow proper preparation steps and work carefully in controlled conditions. Professional installation costs $500-$1,500, while DIY application costs $50-$150 for materials, making it a worthwhile project for budget-conscious car owners willing to invest the time.
Is ceramic coating worth it compared to traditional wax?
Ceramic coating offers significantly better value over time because it lasts years instead of months, provides superior protection against UV damage and contaminants, and reduces your overall maintenance effort. While wax costs less upfront, you’ll apply it 10-20 times during the lifespan of one ceramic coating application, using more product and water in the process.
How much GYEON product do I need for one car?
A standard sedan requires approximately 30-40ml of GYEON ceramic coating for complete coverage, while larger vehicles like SUVs or trucks need 50-60ml. Most GYEON bottles contain 50ml or 100ml, so one bottle typically handles a mid-size vehicle with product to spare for touch-ups.
Can I apply multiple layers of GYEON ceramic coating?
Yes, applying 2-3 layers enhances durability and gloss, with each layer adding incremental protection. Wait 1-2 hours between coats, and ensure each layer is properly buffed before applying the next.
What if it rains during the curing period?
Rain exposure during the initial 12-24 hour curing window can damage the coating before it fully bonds, creating water spots or uneven areas that require removal and reapplication. Keep your car in the garage or under cover for at least 24 hours, and avoid water contact for 7 days for best results.
Beyond these common questions, remember that successful GYEON application comes down to patience and preparation. Don’t rush the prep work, and resist the temptation to drive your freshly coated car before the curing period ends. The time you invest upfront pays dividends in years of simplified maintenance and environmental benefits.
Taking the time to apply GYEON ceramic coating in your home garage is more than just a car care project, it’s an investment in sustainable vehicle maintenance that aligns with your environmental values. By protecting your car’s paint with a durable ceramic layer, you’ll dramatically reduce the resources needed for upkeep over the next several years. Fewer washes, less water consumption, and minimal chemical products translate directly into a lighter environmental footprint.
This process is entirely achievable for DIY enthusiasts willing to follow proper procedures and exercise patience during curing. The initial effort pays dividends through simplified maintenance routines and long-lasting protection that keeps your vehicle looking excellent while conserving resources. You’re not just preserving paint, you’re reducing the frequency of harsh detailing products, extending your car’s aesthetic lifespan, and potentially delaying resource-intensive repainting.
Every sustainable choice we make compounds over time. By mastering this home garage routine, you’ve added another practical skill to your eco-conscious lifestyle toolkit. The same attention to detail and commitment to quality over convenience that guided you through this process can inform countless other decisions, creating cumulative positive impact for our planet.